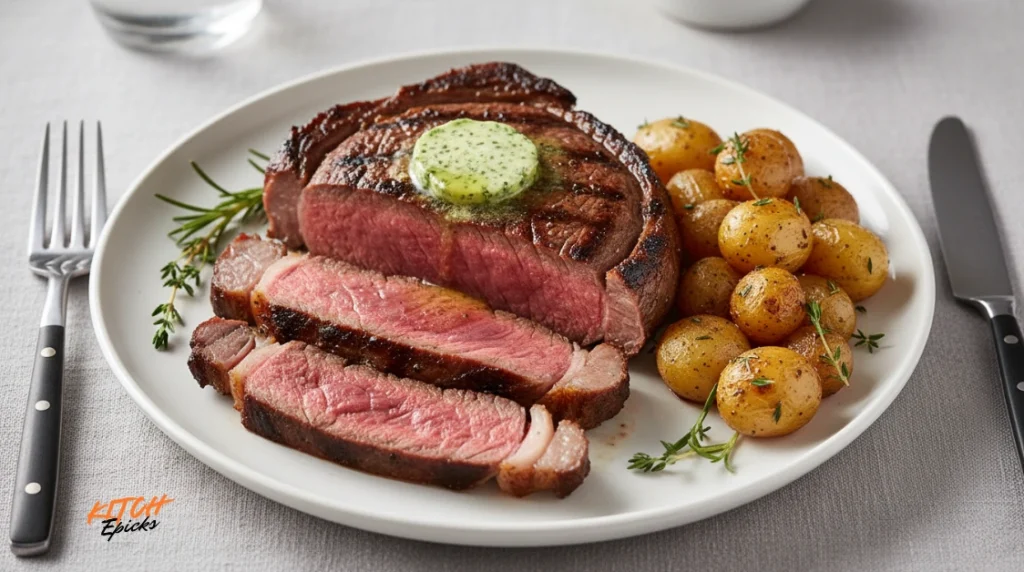
Sous vide ribeye steak is the easiest way to eliminate guesswork and avoid grey, overcooked edges forever. This precision cooking method uses a temperature-controlled water bath to cook your ribeye exactly how you want it—edge to edge, perfectly pink, and so tender it practically melts on your tongue—then finishes with a blazing-hot sear for that steakhouse-quality crust. Sous vide ribeye steak delivers consistent, restaurant-quality results every single time, locking in juices and amplifying the rich, beefy flavor that makes ribeye the ultimate premium cut.
Whether you’re brand new to sous vide or already comfortable with reverse searing and multi-stage grilling, sous vide your ribeye steak for results that are simply impossible to achieve with a pan or grill alone. Ribeye’s generous marbling makes it uniquely suited to this technique: the long, gentle cook fully renders intramuscular fat into buttery juice, while the sealed bag locks in every drop of flavor. You’ll taste the difference in the first bite—richer beef flavor, silkier texture, and zero risk of overcooking an expensive cut.
This guide walks you through everything: choosing the right ribeye, dialing in temperature and time for your preferred doneness, and finishing with either a stovetop sear or grill for maximum char and smoke. By the end, you’ll know exactly how to sous vide your ribeye steak like a pro, delivering restaurant-quality results every single time.
Why Sous Vide Your Ribeye Steak?
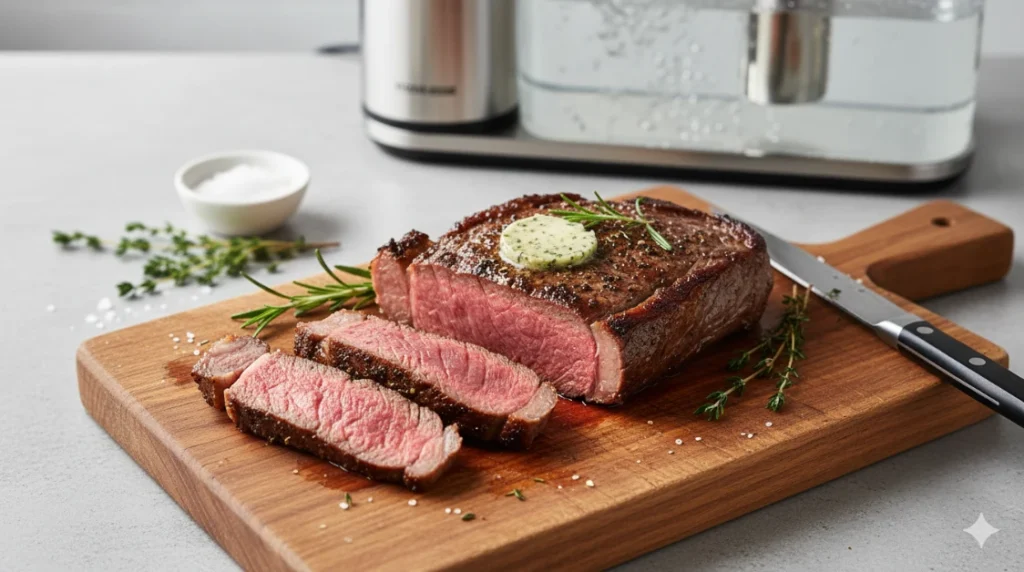
Sous vide is the easiest way to turn a good ribeye into the kind of steak you usually only get at a serious steak house. Instead of fighting hot spots in a pan or guessing doneness by feel, you lock your ribeye in a precisely controlled water bath, let the marbling slowly melt, then finish with a blazing-hot sear for a crust that crackles over a center that stays perfectly pink from edge to edge.
Ribeye is uniquely suited to sous vide because of its generous intramuscular fat. In a pan or on the grill, fat renders only where the heat is strongest, which often means grey bands around the outside and a small strip of ideal medium-rare in the middle. With sous vide, the entire steak spends enough time at the exact temperature you choose, so that marbling renders gently into the meat instead of dripping into the pan, amplifying beefy flavor and giving you that buttery, “melt-in-your-mouth” bite all the way through.
If you are new to sous vide, this method eliminates the anxiety of overcooking an expensive cut: you set your target temperature, walk away, and know your ribeye will never overshoot it. If you are already comfortable with reverse searing, dry brining, or multi-stage grilling, sous vide lets you layer those same pro techniques on top of rock-solid internal doneness—so you can pre-cook steaks ahead of time, chill if needed, then finish with a ripping-hot cast iron or grill sear exactly when guests are ready.
This guide walks through everything from choosing the right ribeye to dialing in temperature and time, then finishing on the stovetop or grill for a steakhouse-quality crust. Whether you are cooking your very first sous vide steak or optimizing the last 5 percent of texture and juiciness, the goal here is the same: a ribeye that is outrageously juicy, deeply flavored from its marbling, and perfectly consistent every single time.
How to Select the Right Ribeye for Sous Vide
Choosing the right ribeye is the foundation for great results, and sous vide rewards steaks that pack generous marbling, adequate thickness, and the right cut for your preference.
Bone-In vs. Boneless Ribeye
Bone-in ribeyes deliver a richer presentation and slightly longer heat retention during the sear, but they offer no meaningful flavor advantage in sous vide because the sealed bag prevents bone compounds from migrating into the meat. Boneless ribeye is easier to bag, cooks slightly faster, and sears more evenly since every surface is exposed muscle. For sous vide, boneless is the practical choice unless you enjoy the visual drama and heft of a bone-in steak at the table.
Ideal Thickness for Sous Vide Ribeye
Target 1.5 to 2 inches thick for the best combination of sear time and juicy interior. Thinner steaks sear quickly but risk overcooking the center before a crust develops, while thicker cuts give you a wider margin for error and a more dramatic contrast between the charred exterior and pink center. A 2-inch ribeye also holds heat longer after the water bath, so you can dry and season it without worrying about the core temperature dropping too much.
Marbling Grades and Fat Content
Ribeye shines in sous vide because of its intramuscular fat, so look for steaks with visible, fine white streaks—also known as marbling—throughout the muscle rather than large, irregular pockets. USDA Choice-grade ribeye is the minimum for truly tender results, but Prime-grade ribeye—or premium Black Angus and Wagyu—will deliver the richest flavor and silkiest texture since that extra marbling melts gently during the long, low-temperature cook. Avoid lean or Select-grade ribeyes; they lack the fat needed to stay juicy and flavorful in a water bath.
Grass-Fed vs. Grain-Fed: Flavor and Texture Differences
Grain-fed ribeye offers more marbling, a milder beef flavor, and a buttery texture that melts predictably in sous vide. Grass-fed ribeye is leaner, slightly firmer, and carries a more pronounced, minerally beef taste that some prefer for its complexity. If you choose grass-fed, sous vide at the lower end of your target temperature range and shorten the cook time to prevent the leaner meat from turning dry or mealy. Grain-fed ribeye is more forgiving and delivers the classic steakhouse experience most home cooks expect.
How to Choose Steaks for the Juiciest Outcome
Look for ribeyes with uniform thickness from edge to edge so the entire steak cooks evenly. Avoid steaks with large external fat caps that hang off the edge; they will not render properly in the bag and can make sealing difficult. If possible, buy dry-aged ribeye for deeper flavor, but note that dry-aging concentrates beef flavor and reduces moisture, so you may want to sous vide at the higher end of your temperature range to soften the denser texture.
Fresh, well-marbled, 1.5- to 2-inch boneless ribeye from a trusted butcher or premium grocer will deliver the most consistent, juicy results every time. For more tips on preparing and presenting steaks properly, see our beef sirloin steak sous vide guide for additional technique insights.
Best Temperature for Sous Vide Ribeye Steak
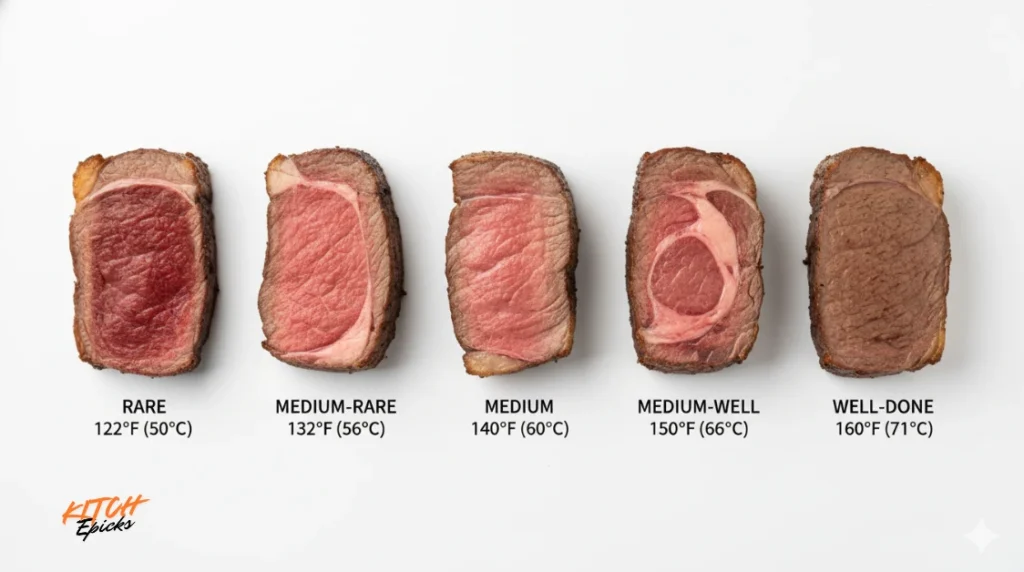
Temperature is the most critical decision you will make when cooking ribeye sous vide, because ribeye’s abundant intramuscular fat behaves differently at different heat levels. Unlike leaner cuts like filet mignon or sirloin, ribeye benefits from slightly higher temperatures to fully render its marbling into silky, flavorful juice rather than chewy pockets of unmelted fat.
Rare (122–128°F / 50–53°C)
Rare ribeye delivers vivid red color and a soft, almost slippery texture, but the fat remains largely unrendered and can feel waxy or chewy in the mouth. At this temperature, you preserve maximum moisture, but you sacrifice the buttery mouthfeel that makes ribeye special. Rare is better suited to ultra-lean cuts like tenderloin; for ribeye, it leaves flavor and tenderness on the table.
Medium-Rare (129–134°F / 54–57°C)
Medium-rare is the sweet spot for most ribeyes, balancing tender pink color with enough heat to begin breaking down intramuscular fat. At 130–132°F, you get juicy, rosy meat with a firm but yielding texture, though some marbling may still feel slightly firm. Many home cooks find this temperature ideal for lean or Choice-grade ribeye, where less fat means less need for aggressive rendering.
The 135–137°F “Ribeye Zone” (Medium-Rare to Medium)
Ribeye truly shines at 135–137°F, a range often called the “ribeye sweet spot” because it fully renders intramuscular fat into the meat while keeping the center pink and juicy. At this temperature, marbling melts completely, delivering that signature buttery, “melt-in-your-mouth” texture steakhouses are known for. The steak will appear closer to medium than medium-rare, with a lighter pink center and firmer texture, but the trade-off in tenderness and flavor is worth it for Prime-grade or heavily marbled ribeye. If you have been disappointed by ribeyes cooked at 129–130°F that tasted chewy or overly fatty, 135–137°F solves that problem.
Medium (138–144°F / 59–62°C)
Medium ribeye develops a light pink to grayish center and a firm, springy texture. Fat is fully rendered, but moisture loss accelerates above 140°F, and the meat begins to lose its juicy “steak” quality in favor of a drier, more roast-like consistency. Medium works for those who prefer no pink and fully cooked meat, but it pushes ribeye past its prime.

- ULTRA FAST AND ACCURATE – Enjoy a perfectly cooked meal every time! Our pre-calibrated, instant read kitchen thermometer…
- MULTI USE KITCHEN THERMOMETER – A good instant read thermometer for cooking is one that can do it all. The KIZEN food th…
- EASY TO READ – Perfect for the kitchen or grilling at night, our instant read meat thermometer displays the temperature …
Why Ribeye Prefers Medium-Rare to Medium
Ribeye contains more fat than almost any other steak cut, and that fat does not fully render below 135°F. At lower temperatures, you preserve a vivid red center, but the marbling stays semi-solid and chewy; at higher temperatures, the fat melts into the meat, but you risk drying out the lean muscle. The ideal range—132–137°F—splits the difference, giving you enough heat to render fat without overcooking the protein through a process called the Maillard reaction during the final sear.. If you are used to cooking lean steaks at 129°F, plan to go at least 3–5 degrees higher for ribeye to unlock its full potential.
Does Timing Matter for Sous Vide Ribeye Steak?
Timing matters less than temperature in sous vide, but it still plays a crucial role in texture and tenderness. Unlike traditional cooking methods where a few extra minutes mean overcooked meat, sous vide gives you a wide window of safety—but push too far beyond the ideal range and your ribeye can turn mushy or lose its “steak” character.
While sous vide eliminates most guesswork, having a reliable instant-read thermometer like the ThermoPro TP19 lets you verify your water bath temperature and check the steak’s core temp after searing to ensure you haven’t overshot your target.
How Long to Sous Vide Ribeye for Perfect Results
For a 1- to 1.5-inch ribeye, aim for 1 to 2 hours to bring the steak up to target temperature and begin tenderizing connective tissue. For 1.5- to 2-inch ribeyes, extend the cook to 2 to 3 hours to ensure the center reaches temperature and fat has time to render evenly. The minimum cook time is roughly 45 minutes per inch of thickness, but ribeye benefits from staying in the bath closer to 2 hours to fully break down intramuscular fat and collagen.
Most sources recommend a maximum of 4 hours for ribeye, regardless of thickness. Beyond that point, muscle fibers begin to break down excessively, and the steak shifts from tender and juicy to soft and pot-roast-like in texture. If you need to hold ribeye longer for timing reasons, cook at the lower end of your temperature range (e.g., 132°F instead of 137°F) to slow the breakdown process.
Risks of Overcooking or Undercooking in Sous Vide
Undercooking in sous vide is less about safety and more about texture: if you pull the ribeye too early, the center may not reach temperature, and the fat will remain chewy and unrendered. A 2-inch ribeye cooked for only 45 minutes may feel warm to the touch but will have a cold, firm core and disappointing mouthfeel.
Overcooking manifests as mushiness rather than dryness. Ribeye left in the bath for 5 to 6 hours or longer develops an overly tender, almost mealy texture that lacks the satisfying chew of a properly cooked steak. The fat remains rendered, but the muscle fibers lose their structure and the steak tastes more like braised beef than grilled steak. This is especially problematic at higher temperatures (138°F and above), where protein breakdown accelerates.
Tips for Thicker or Thinner Ribeyes
For thin ribeyes (under 1 inch), cook for 1 to 1.5 hours maximum and sear quickly—30 seconds per side—to avoid overcooking the center during the finishing step. Thin steaks heat through faster and require less time to render fat, so extended cook times offer no benefit.
For thick ribeyes (2 inches or more), extend the cook to 2.5 to 3 hours to ensure the core reaches temperature without rushing. You can also chill the steak in the refrigerator for 2 to 3 minutes after removing it from the bag, which gives you a longer searing window without overcooking the interior. Thick ribeyes benefit most from the 135–137°F range, where extended time helps render fat deep inside the steak.
If you are cooking from frozen, add 30 minutes to 1 hour to the minimum cook time to account for the extra time needed to bring the steak up to temperature. A frozen 1.5-inch ribeye should cook for at least 2.5 hours to ensure even heating throughout.
Sous Vide Ribeye Steak: Temperature & Timing Chart
| Doneness | Temp °F | Temp °C | Time Range* | Why This Works for Ribeye’s Marbling & Flavor |
|---|---|---|---|---|
| Rare | 122–128°F | 50–53°C | 1–2 hours | Keeps the center deep red and very soft, but ribeye’s intramuscular fat stays mostly solid, so marbling can eat a bit waxy or chewy rather than buttery; best only if someone insists on rare and you’re using a leaner ribeye. |
| Medium-rare (classic) | 129–134°F | 54–57°C | 1–3 hours | Gently melts a portion of the marbling while keeping a rosy-pink, very juicy center and tender bite; ideal for Choice-grade or slightly leaner ribeyes where you want maximum moisture with just enough fat rendering. |
| Ribeye “sweet spot” | 135–137°F | 57–58°C | 1.5–3 hours | Fully renders most intramuscular fat into the meat while still holding a pink, steakhouse-style interior; gives Prime/very marbled ribeyes a rich, buttery mouthfeel and intense beef flavor without turning them dry or gray. |
| Medium | 138–144°F | 59–62°C | 1.5–3 hours | Pushes more moisture out of the muscle but guarantees fully rendered fat and a firmer, classic “no deep pink” center; good for guests who dislike visible pink yet still want a juicy, flavorful ribeye instead of a dry pan-fried steak. |
| Medium-well (not recommended) | 145–155°F | 63–68°C | 1–3 hours | Nearly all marbling is rendered and the center turns mostly tan/gray with a drier, roast-like texture; only choose this if someone absolutely won’t eat pink steak, as you sacrifice much of what makes ribeye special. |
| Well-done (strongly not recommended) | 156°F+ | 69°C+ | 1–2 hours | Completely cooks out pink color and squeezes out a lot of juice, leaving a firm, fibrous texture; fat is fully melted but much of it ends up in the bag instead of the meat, so ribeye’s premium marbling is largely wasted. |
Time ranges assume 1–2 inch (2.5–5 cm) thick ribeye steaks; lean toward the lower end for thinner steaks and the upper end for thicker cuts.
How to Cook Ribeye Steak Sous Vide Step by Step
This method delivers restaurant-quality ribeye with minimal effort and zero guesswork. Follow these steps for edge-to-edge perfection every time.
Step 1: Preheat Your Sous Vide Water Bath
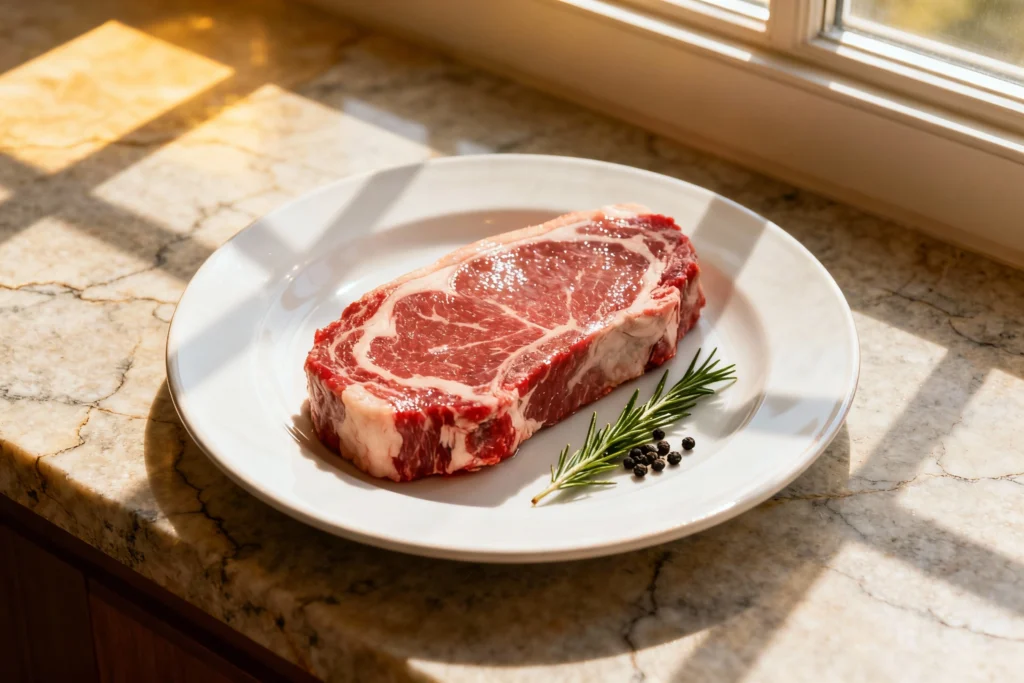
Fill a large pot, container, or dedicated sous vide vessel with enough water to fully submerge your bagged steak while staying below the maximum fill line on your immersion circulator. Attach your sous vide device, set it to your target temperature (135–137°F for the ribeye sweet spot, or 130–132°F for classic medium-rare), and let the water preheat for 15 to 20 minutes. Most sous vide units will alert you via app or beep when the water reaches temperature.
Pro tip: Use hot tap water to speed up preheating, especially if you are cooking above 135°F.

- Pros have been doing it for years, and now you can too. Sous vide (pronounced sue-veed) is a cooking technique that util…
- Our best-seller, only better. The first Anova Precision Cooker launched in 2014 and started a home-cooking revolution — …
- The adjustable clamp makes it an ideal fit on nearly any pot that is deep enough to meet the minimum water depth require…
Step 2: Season and Prep the Ribeye
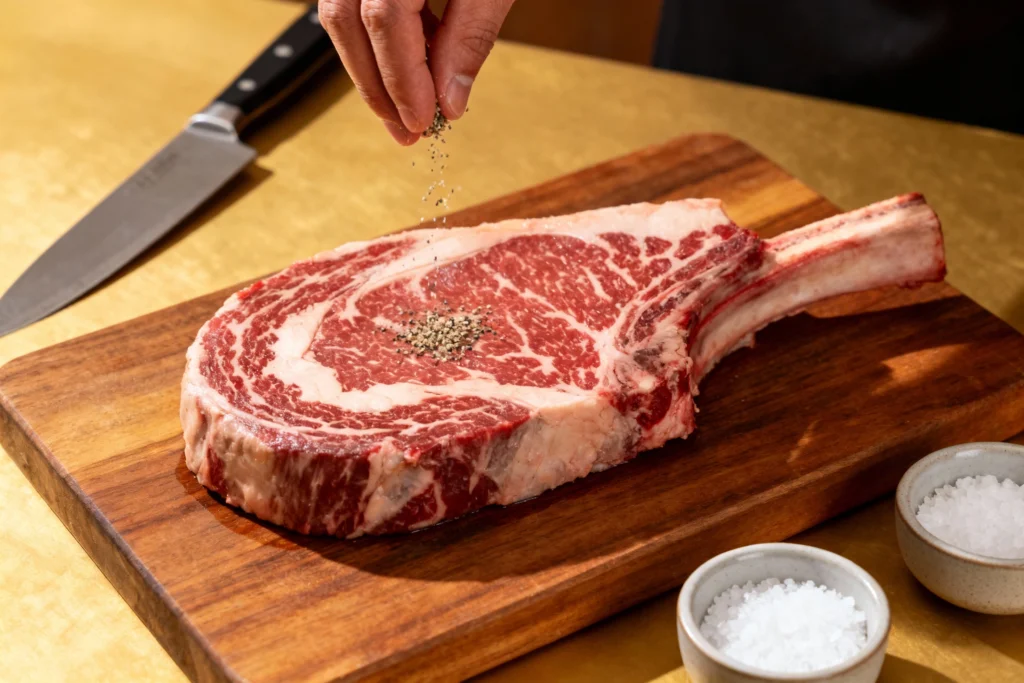
Pat your ribeye completely dry with paper towels—moisture prevents seasoning from sticking and dilutes flavor in the bag. Season both sides generously with kosher salt and freshly ground black pepper; ribeye’s fat content can handle aggressive seasoning. You can also add a light dusting of garlic powder, onion powder, or smoked paprika for extra depth, but avoid heavy spice rubs with sugar, which can turn bitter during long cooks.
Common mistake to avoid: Do not season more than 10 minutes before bagging unless you are intentionally dry-brining overnight in the refrigerator; salt will begin to draw moisture out of the steak if it sits too long at room temperature.
Step 3: Add Aromatics (Optional but Recommended)
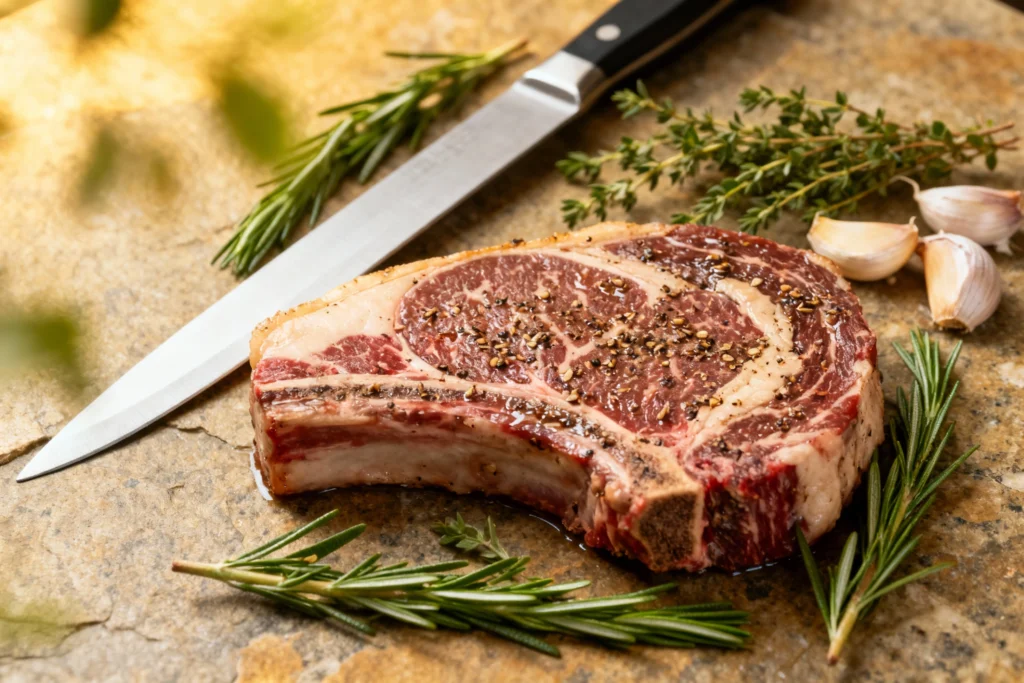
Drop a sprig of fresh rosemary, a sprig of thyme, and 1 to 2 smashed garlic cloves into the bag with your ribeye. These aromatics infuse subtle flavor into the steak during the cook without overpowering the beef. You can also add a tablespoon of butter or a drizzle of olive oil, though this is optional since ribeye already has plenty of fat.
Pro tip: If you are sensitive to raw garlic flavor, cut the clove in half instead of smashing it, or skip garlic entirely and add it only during the sear.
Step 4: Bag, Seal, and Submerge
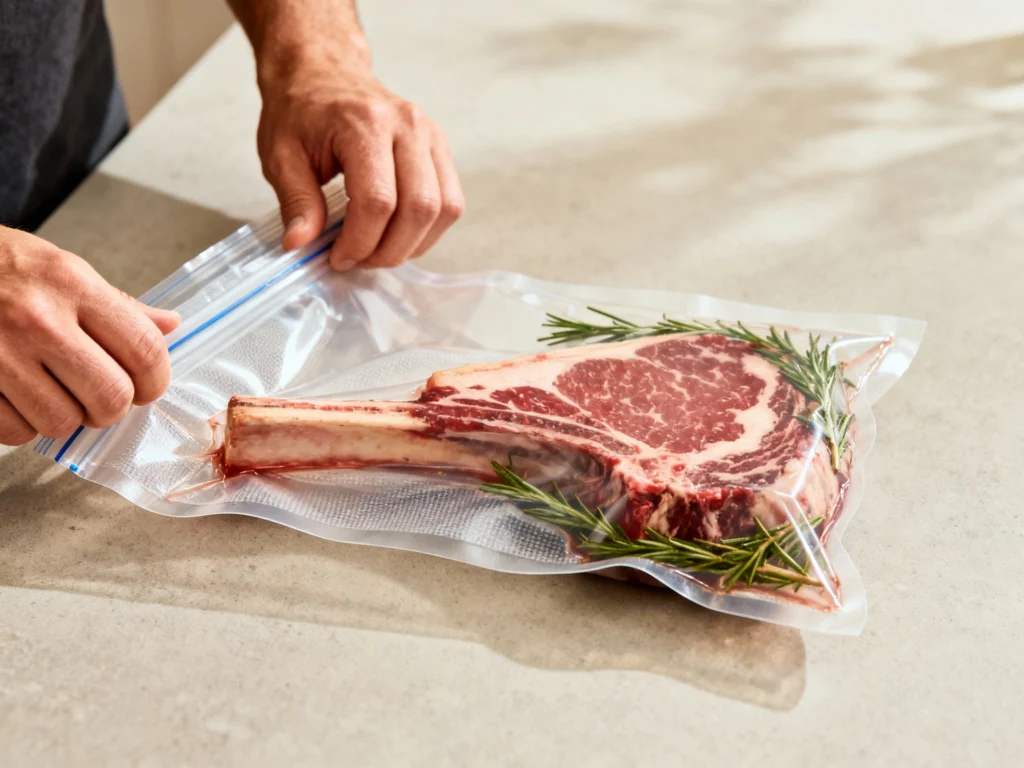
Place the seasoned ribeye and aromatics into a vacuum-seal bag or a heavy-duty freezer-grade ziplock bag. If using a vacuum sealer like the Anova Culinary Precision Vacuum Sealer Pro, seal on the “moist” or “gentle” setting to avoid crushing the steak. If using a ziplock, use the water displacement method: slowly lower the open bag into the water bath, allowing water pressure to push air out, then seal the bag just before it goes fully under. Clip the top of the bag to the side of the container with a binder clip or sous vide clip to prevent floating.
Common mistake to avoid: Do not leave large air pockets in the bag; they create hot and cold spots and prevent even cooking.


Step 5: Sous Vide Cook to Target Temp and Time
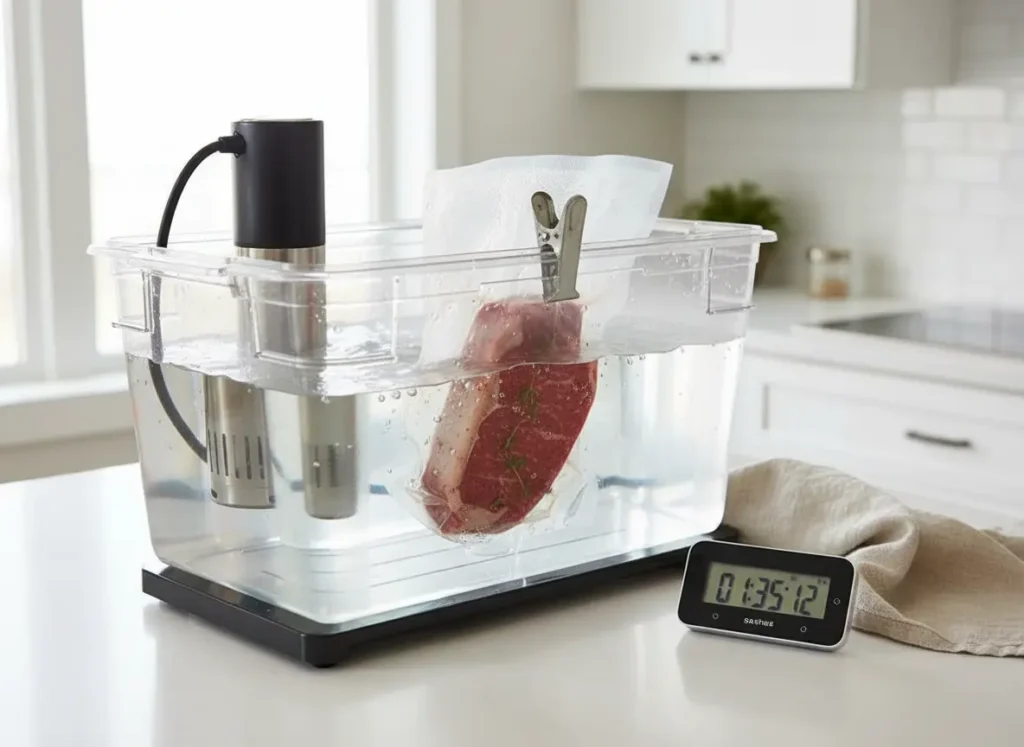
Submerge the sealed ribeye completely and set your timer for 1.5 to 3 hours depending on thickness (1.5 hours for 1-inch steaks, 2.5 to 3 hours for 2-inch steaks). The steak is safe to leave in the water bath for up to 4 hours, which gives you flexibility for meal timing, but do not exceed 4 hours or the texture will turn mushy. You do not need to flip, rotate, or check the steak during the cook—just let the sous vide do its job.
Safety note: Ribeye cooked at 130°F or higher for at least 1.5 hours is pasteurized and safe to eat, but always use fresh, high-quality meat from a trusted source.
Step 6: Remove, Dry, and Prep for Searing
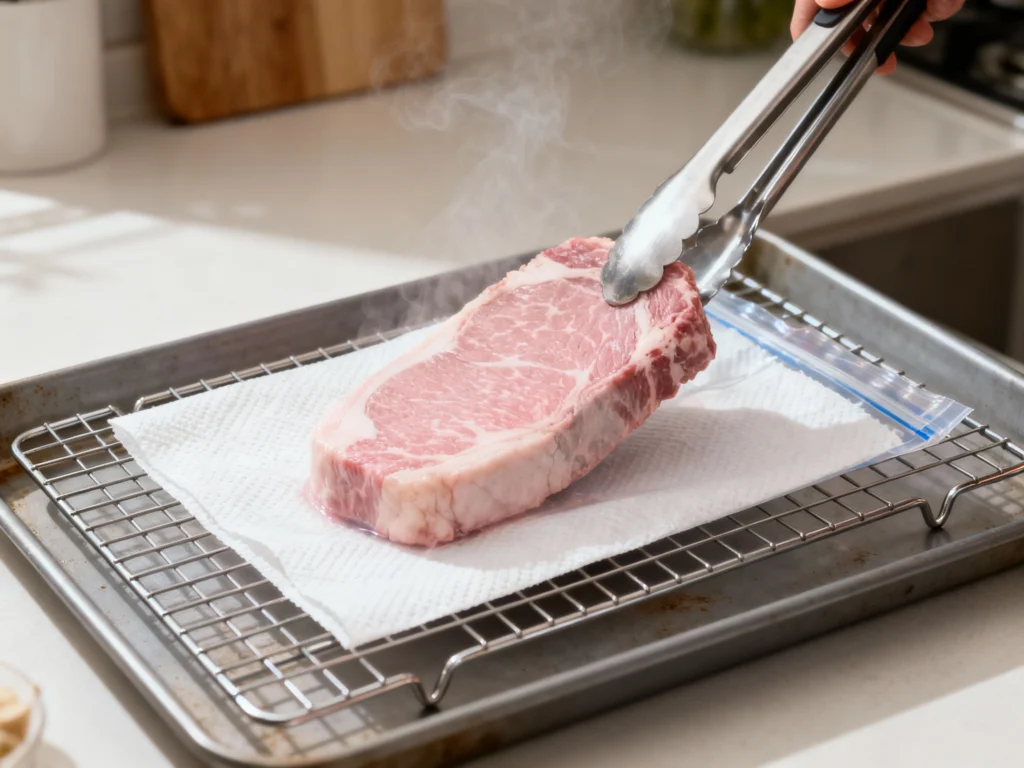
When the timer goes off, remove the bag from the water bath and carefully open it, pouring off any accumulated liquid. Transfer the ribeye to a plate lined with paper towels and pat the entire surface completely dry—this is the most critical step for achieving a dark, crispy crust.
If you’re looking for more precision tools to elevate your cooking, check out our guide to smart kitchen tools for healthier cooking, which covers sous vide equipment essentials.
Discard the aromatics or set them aside to add back during the sear. If you want an ultra-deep sear without overcooking the interior, chill the dried steak in the refrigerator for 2 to 3 minutes to drop the surface temperature.
Pro tip: Re-season lightly with a pinch of salt and pepper after drying, since some seasoning will have washed off into the bag liquid.
You are now ready to sear your ribeye on the stovetop or grill for a steakhouse-quality crust.
Finishing Sous Vide Ribeye on the Stovetop
Once your ribeye comes out of the bag, the sous vide has already done the hard work—now the goal is a fast, aggressive sear that builds a deep Maillard crust without pushing the inside past your carefully chosen doneness.
1. Dry the Steak Like a Pro
- Remove the ribeye from the bag and discard any cooking liquid and herbs.
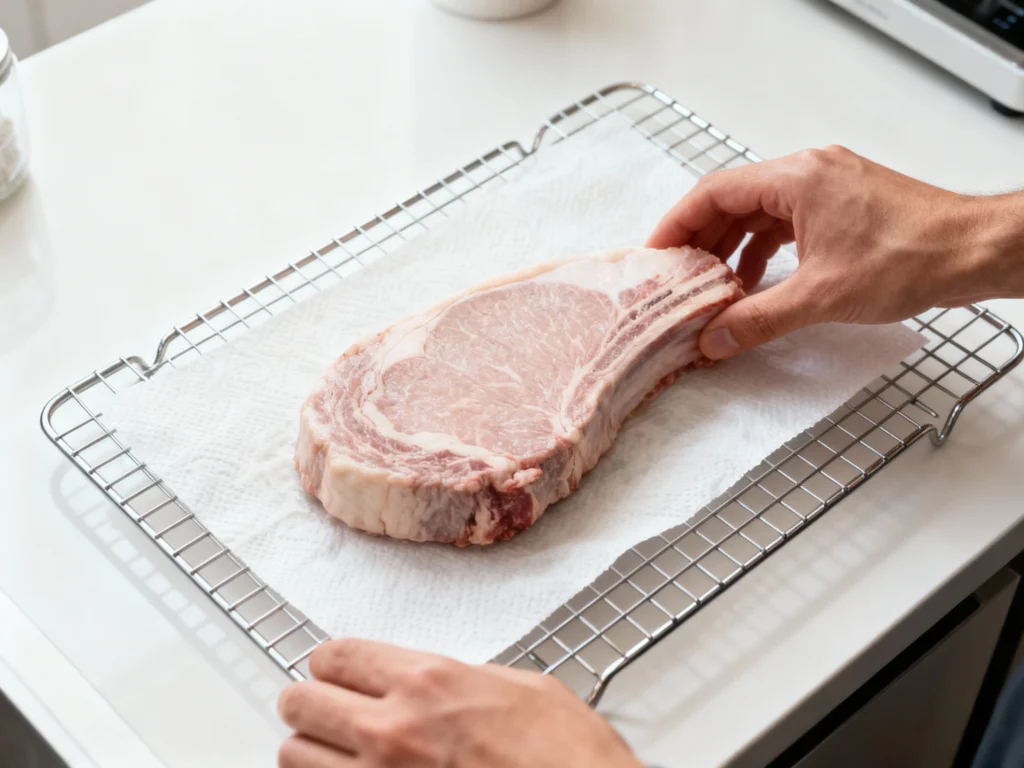
- Pat the steak bone-dry on all sides with paper towels; press, don’t wipe, so you lift moisture instead of smearing it.
- If you have time, air-dry the steak on a rack in the fridge for 5–10 minutes to dehydrate the surface even further.
- Just before searing, lightly re-season with salt and pepper; the surface will have lost some seasoning to the bag juices.
Chef trick for ribeye: Because ribeye carries more surface fat, trim any thick, loose fat flaps that will render better in the pan than on the steak. Dice those scraps and render them first to create your own beef tallow for searing.
2. Choose the Right Pan and Fat
- Use heavy stainless or cast iron for maximum heat retention. We recommend the Lodge 12-inch Cast Iron Skillet for its even heat distribution and ability to reach the screaming-hot temperatures needed for a perfect crust.
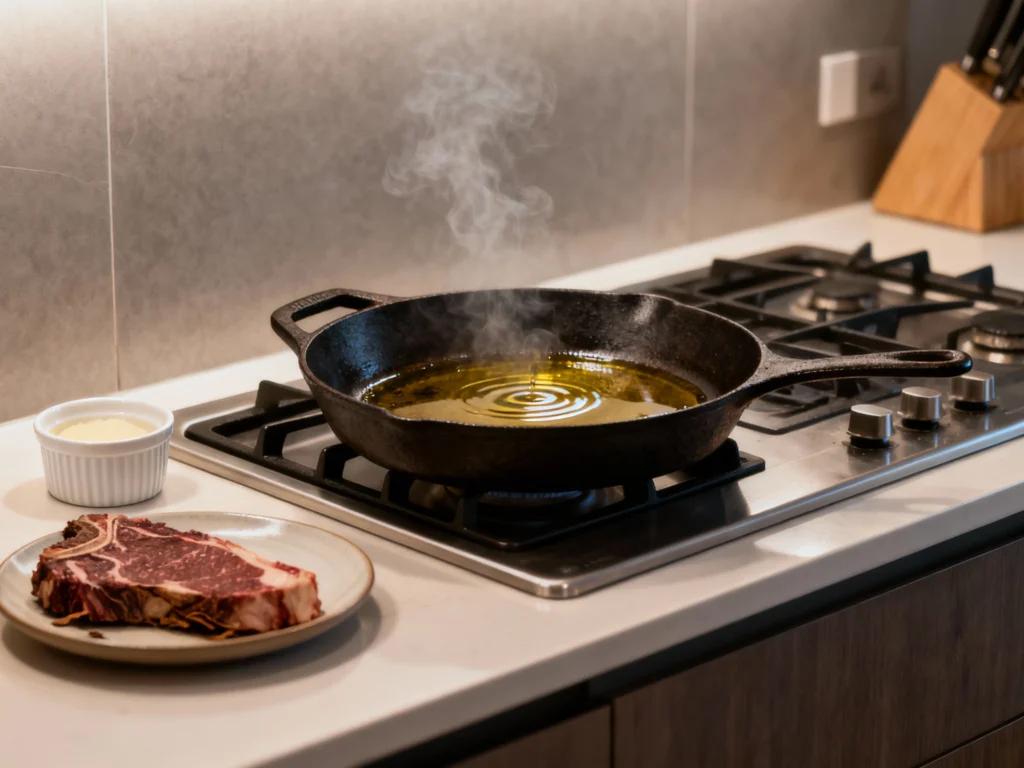
- Preheat the pan over medium-high to high until it just begins to smoke; this is where you want to be before the steak ever touches steel.
- Add a high-smoke-point fat first (neutral oil, clarified butter, or rendered beef tallow), saving whole butter for later basting so it doesn’t burn.
Chef trick for ribeye: Render a strip of the ribeye’s external fat cap first by holding it with tongs and pressing that edge into the hot pan until it releases fat. Then lay the steak down in its own beef fat.

- Quality Cast Iron Frying Pan: The Lodge Seasoned Cast Iron Skillet is loved for its great heat retention, incredible dur…
- Naturally Seasoned for Non-Stick Finish: Each pre-seasoned skillet arrives ready to use with a smooth non-stick finish t…
- Heavy-Duty & Long-Lasting: This cast iron frying pan is crafted for durability and multipurpose use, with an easy-grip t…
3. Searing: Time, Heat, and Movement
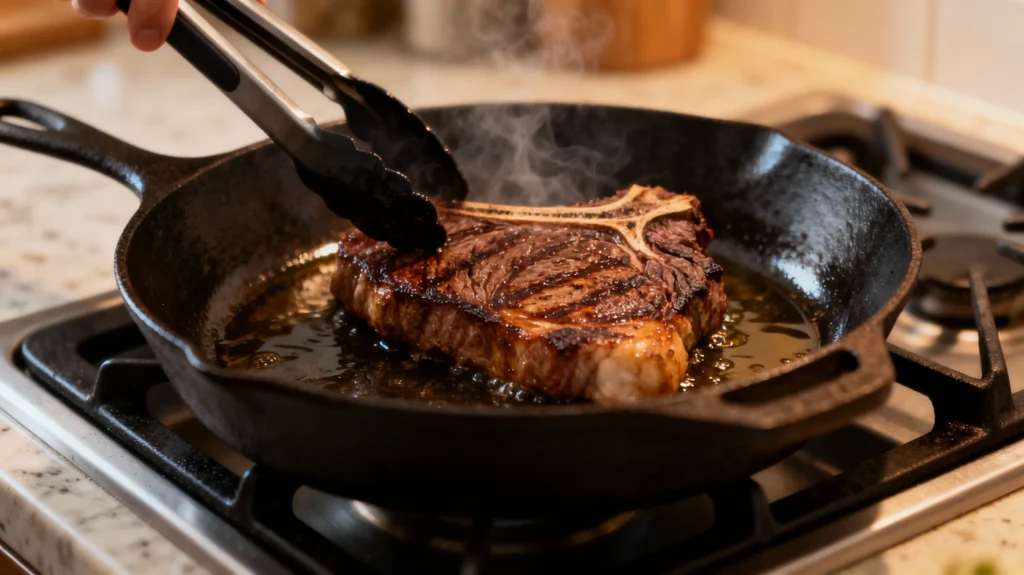
- Lay the ribeye in the pan away from you to avoid splatter using sturdy stainless steel tongs like these OXO Good Grips, and do not move it for the first 30–45 seconds.
- For a typical 1.5–2 inch sous vide ribeye, aim for about 45–60 seconds per side, plus a quick roll around the edges, not more.
- Flip as soon as you see a deep, even brown crust—not grey, not black. Repeated flipping (every 30–40 seconds) is fine and often safer than leaving it untouched for too long.
- If the pan starts to smoke aggressively or the butter solids darken too fast, reduce heat slightly rather than extending sear time.
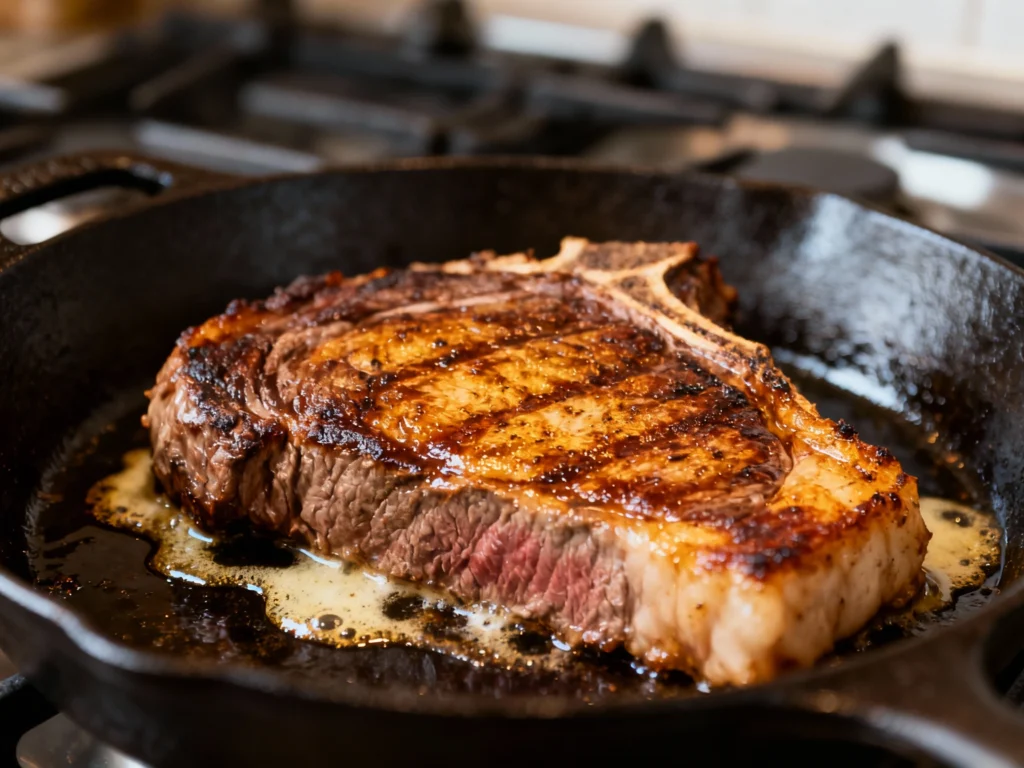
Chef trick for ribeye: Because the interior is already at temp, the only enemy is dwell time. Think “short, vicious sear” rather than a long pan-fry: extremely hot pan, very brief contact.

- STRUDY FOOD-GRADE STAINLESS STEEL COOKING TONGS – EDDEAS kitchen tongs for cooking are made of 1mm thick food-grade stai…
- LOCKING MECHANISM AND PULL-DOWN DESIGN – Perfect Metal Kitchen Tongs for Cooking .Our food cooking tongs feature a pull-…
- HEAT RESISTANT ERGONOMIC HANDLES – Tongs For Cooking have ergonomic handles with silicone cushioning to ensure good grip…
4. Butter, Herbs, and Basting
- After both main sides have taken on color, push the steak to the far side of the pan.
- Add 1–2 tablespoons of whole butter, a smashed garlic clove, and a couple of thyme or rosemary sprigs to the near side.
- Tilt the pan so the butter pools, then spoon the foaming butter rapidly over the steak for 30–45 seconds, flipping once and basting the second side.
- Remove the garlic and herbs if they begin to burn; bitter aromatics will ruin the crust.
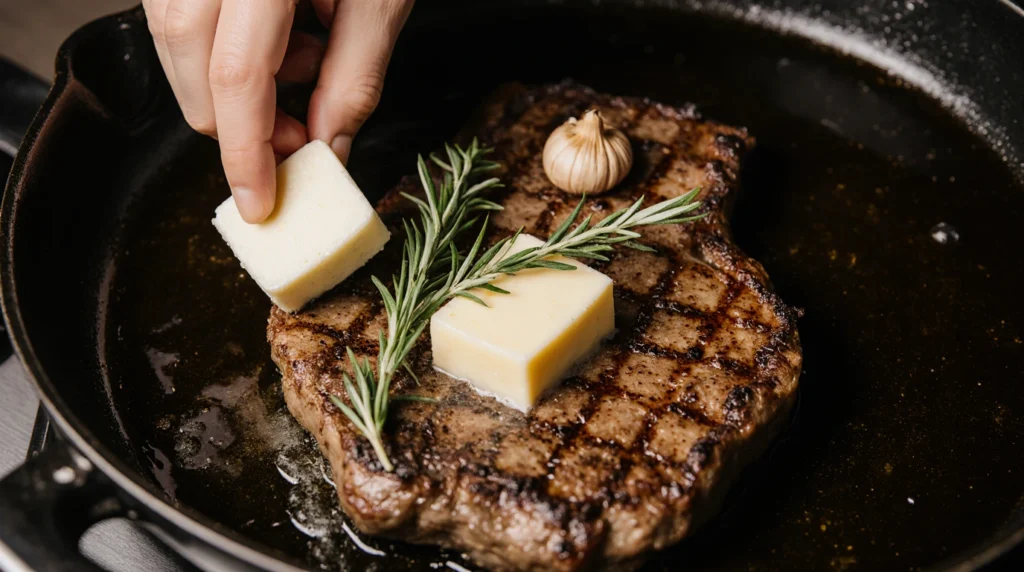
Why this works for ribeye: The steak already contains rendered fat from sous vide; the hot, nutty butter plus herbs create a steakhouse-style aromatic crust while the basting action cools the exposed surface slightly, helping avoid overshooting the interior.
5. Avoiding Overcooking the Center
- Start slightly below your final target temp if you know you like a very dark crust (e.g., sous vide at 133–134°F if you plan a hard sear to land around 135–136°F).
- Chill the steak in the fridge or over an ice pack for 3–5 minutes after coming out of the bag if you want extra sear time; this buys you more Maillard before the center creeps up.
- Don’t rest as long as a traditionally cooked steak—the carryover heat is minimal. A brief 3–5 minutes is enough for juices to settle without losing crust crispness.
6. Ribeye-Specific Chef Tricks
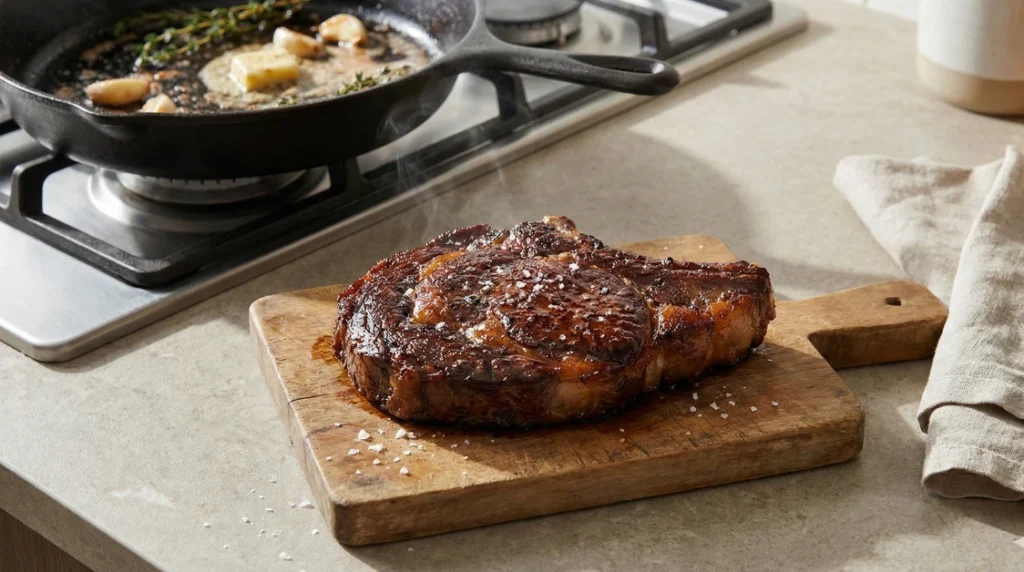
- Cap-first sear: The spinalis (ribeye cap) is the money bite—angle the steak so that cap gets direct, hardest contact with the pan for a few extra seconds each side.
- Edge roll: After the main sides are done, roll the steak on its edges to crisp the fat ring; this adds flavor and keeps chewy fat from spoiling the bite.
- No overcrowding: Sear one or two ribeyes at a time. More steaks drop pan temperature and steam instead of brown.
- Finish with flaky salt: Right before slicing, hit the crust with a tiny pinch of flaky salt to highlight the browned butter and beef fat notes.
Handled this way, the sous vide ribeye comes out with a shattering crust, deeply browned butter-and-herb aromatics, and an interior that stays perfectly pink from edge to edge.
Finishing Sous Vide Ribeye on the Grill
Finishing a sous vide ribeye on the grill is where you layer in smoke, flame-kissed flavor, and those photogenic grill marks over an already perfectly cooked interior. The key is brutal, focused heat on the outside while protecting the center you dialed in with sous vide.
Step 1: Dry and Prep for the Grill
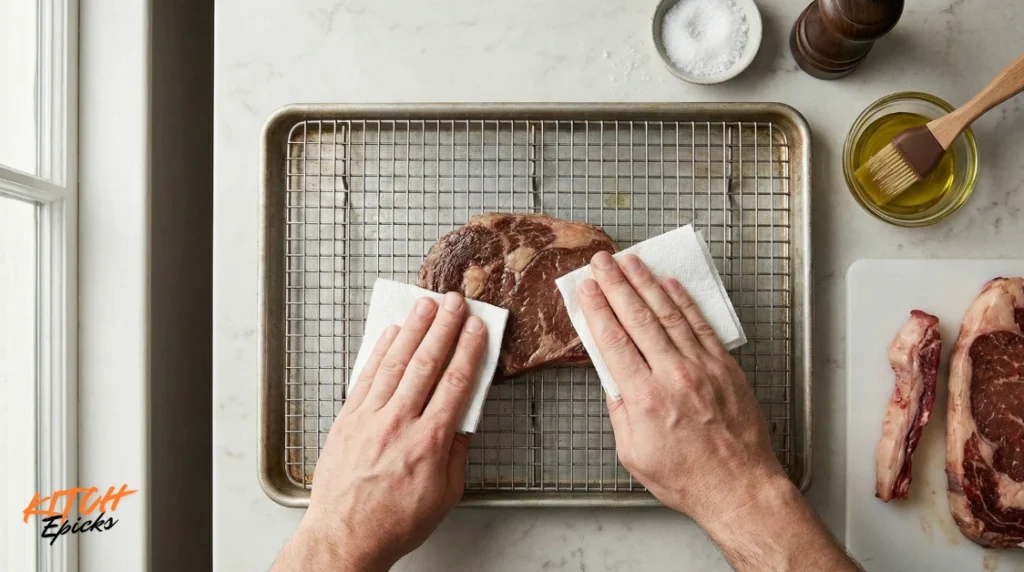
- Remove the ribeye from the bag, discard liquid and aromatics, and pat it bone-dry on all sides with paper towels.
- Lightly re-season with salt and freshly ground pepper; add a thin film of high-smoke-point oil (avocado, canola, or beef tallow) to help the crust form and prevent sticking.
- For extra sear control, chill the steak in the fridge or over an ice pack for 5–10 minutes so the surface cools while the core stays at your sous vide temp.
Ribeye-specific tip: Trim any thick, dangling fat that will just flare up, but keep the fat cap attached; that external fat will baste and flavor the meat as it hits the grill.
Step 2: Grill Setup – Gas and Charcoal
Charcoal grill (maximum flavor):
- Build a two-zone fire: pile lit coals on one side for a ripping-hot direct zone, leaving the other side coal-free for indirect heat.
- Let the hot zone get as hot as possible (grate temperature 500–650°F+). A preheated, cleaned, and lightly oiled grate is essential for clean, dark marks.
- For smokiness, toss on a chunk or small handful of wood chips (oak, hickory, cherry) just before the steak goes on.
Gas grill:
- Set one burner (or two on a larger grill) to high for a searing zone and leave at least one burner on low or off for a cooler, indirect zone.
- Preheat with the lid closed until the grates are blazing hot—aim for similar 500–650°F+ grate temps.
- For added smoke, use a smoker box or a foil packet of wood chips over the active burner.
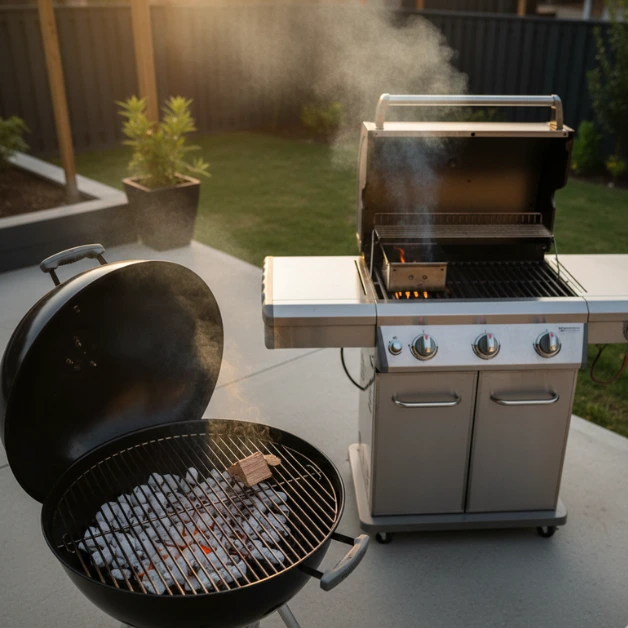
Step 3: Searing Technique for Maximum Crust
- Place the ribeye over the hot direct zone at a 45° angle to the grates for sharp grill marks.
- Sear for 30–45 seconds, then rotate 90° on the same side for crosshatch marks and more surface browning; another 30–45 seconds.
- Flip and repeat: angle, sear 30–45 seconds, rotate, sear 30–45 seconds.
- For ribeyes with a big fat cap or thick edge, use tongs to stand the steak on its side and crisp the edges for 20–40 seconds total.
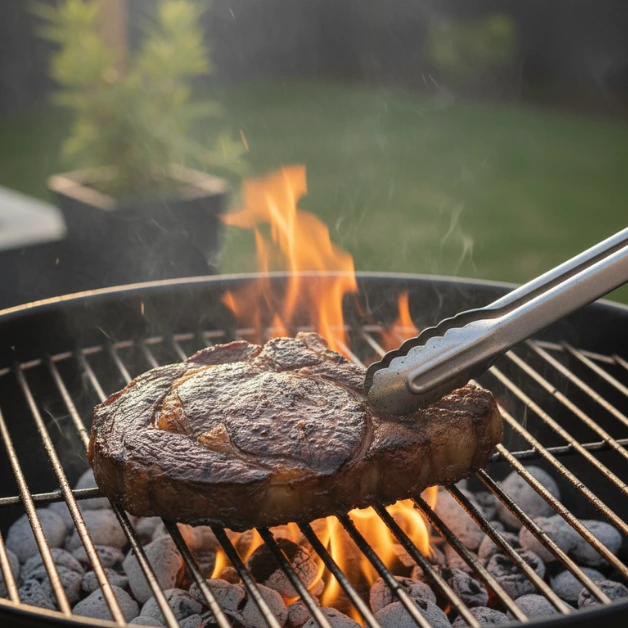
You’re not “cooking it through” here—the sous vide already did that. You’re just building color, char, and flavor. If flames flare up, move the steak to the cooler zone until they die down, then slide it back over the fire.
Ribeye-specific tip: Fat drips = flare-ups. Use them tactically: short bursts of flame can add flavor, but never let the steak sit engulfed in fire.
Step 4: Managing Thick Steaks on the Grill
For 2-inch+ ribeyes:
- Start them slightly cooler in sous vide (e.g., 133–134°F if you ultimately want 135–137°F).
- After sous vide, chill the bagged steaks briefly in an ice bath or fridge for 10–15 minutes before drying; this buys you a longer sear window without pushing the center past your target.
- On the grill, use short, repeated passes over the hot zone instead of one long blast—think 20–30 seconds per side, then rest on the cooler side, then back to the hot side.
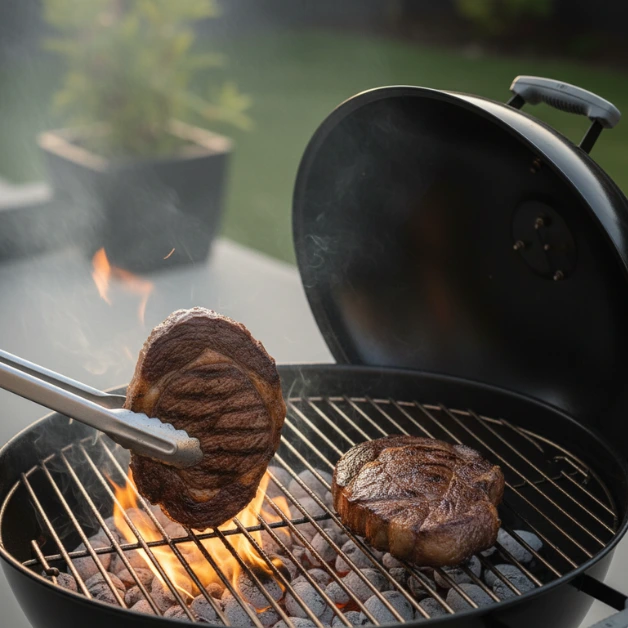
This “kiss and retreat” approach lets you stack Maillard layers on the outside while the interior remains at your ideal medium-rare to medium.
Step 5: Adding Smokiness Without Drying the Steak
Because sous vide already cooked the steak, you don’t want a long low-and-slow smoke session. Instead:
- Use pre-lit wood chunks or chips on charcoal, or a smoker box on gas, to get a short, intense smoke window during the sear.
- Keep the lid closed between flips for 20–40 seconds at a time to trap smoke around the steak.
- If you want an extra hint of smoke, park the steak on the indirect side with wood smoldering for just 2–3 minutes after the main sear, lid closed—then pull it before the center rises too much.
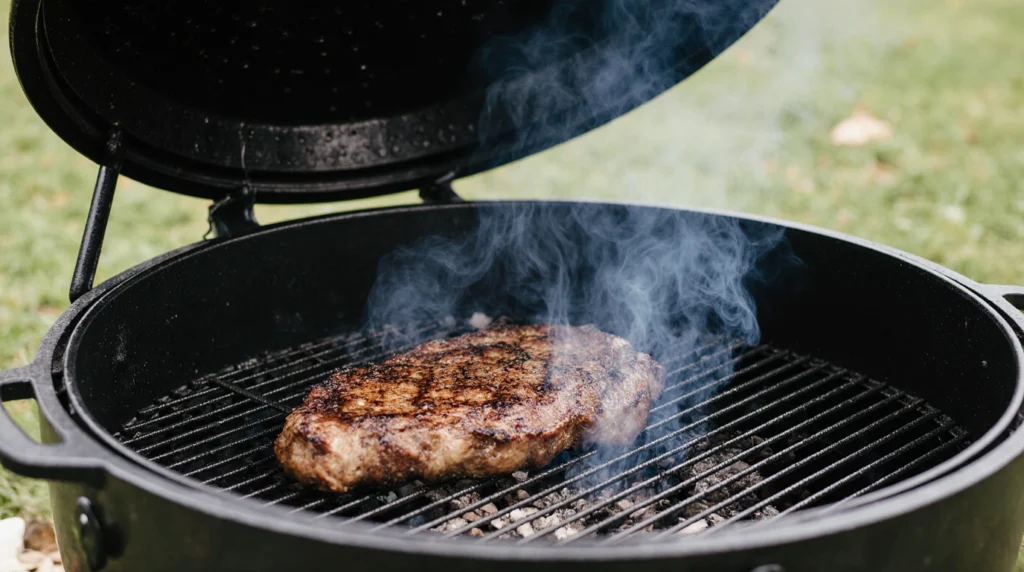
For people who love heavy smoke, do the opposite sequence on another cook: a brief pre-smoke at low temp before sous vide, then bag, sous vide, and finish with a quick high-heat sear.
Step 6: Gas vs. Charcoal – How to Get the Best from Each
On gas:
- Use max heat and keep the lid mostly closed between flips to intensify heat and smoke from the drippings.
- Deploy a smoker box or foil packet over the hottest burner to add character; run it for a few minutes before steaks hit the grates.
- Give yourself a bit more chilling time pre-sear on gas, since some gas grills don’t get as brutally hot as charcoal.
On charcoal:
- Bank all coals on one side and get them white-hot; open bottom and top vents wide for maximum airflow.
- Place a chunk of hardwood directly on the coals right before searing for that steakhouse-style smoky blast.
- Use the cool side as a safe zone: after an aggressive sear, park the ribeye away from the coals for a minute to stabilize before serving.
Step 7: Finishing Touches
- Resting is minimal for sous vide ribeye—2–5 minutes is plenty, mostly to let the surface cool slightly and keep juices from gushing when sliced.
- Finish with a thin slice of compound butter (garlic-herb or peppercorn) on top as the steak comes off the grill; it will melt into the crust without softening it too much.
- Slice across the grain, showing off the smoke-kissed crust and that uniform pink interior on a quality cutting board. If you’re investing in premium steaks, pair them with a durable acacia wood cutting board for presentation and longevity.
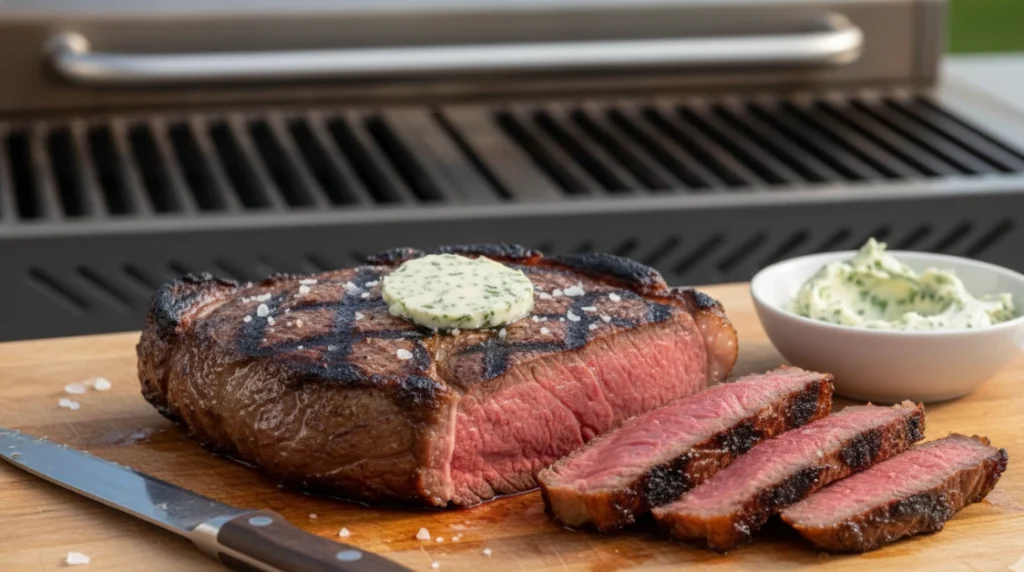
Handled this way, the grill adds char, aroma, and smoke to the already precise sous vide doneness, giving you a ribeye that eats like a high-end steakhouse steak every time
Frequently Asked Questions about Sous Vide Ribeye
Does sous vide fully render the fat in ribeye?
Yes, but only at the right temperature. Ribeye’s intramuscular fat begins to render around 130°F, but it fully melts and becomes buttery at 135–137°F. If you cook at 129°F or lower, some marbling will remain semi-solid and chewy. For Prime or heavily marbled ribeye, aim for 135–137°F to unlock that “melt-in-your-mouth” texture.
Is sous vide ribeye safe to eat at lower temperatures like 130°F?
Yes, as long as you hold the steak at temperature long enough for pasteurization. Cooking ribeye at 130°F for at least 1.5 to 2 hours is sufficient to eliminate harmful bacteria. Always use fresh, high-quality beef from a trusted source, and never sous vide ground or mechanically tenderized meat at low temperatures.
Do I need to rest sous vide ribeye after searing?
Barely. Traditional steaks need a long rest because carryover cooking and juice redistribution are major factors; sous vide ribeye is already evenly cooked and has minimal carryover heat. Rest for 2–5 minutes after searing just to let the surface cool slightly and prevent juice from spilling when you slice, but no longer or the crust will soften.
Can I use a dry rub or spice blend in the sous vide bag?
Use caution. Salt and pepper are always safe, but spice rubs with sugar, paprika, or dried herbs can turn bitter or overly concentrated during the long cook. If you want bold seasoning, apply a light rub before bagging, then add more after the sear. Fresh garlic can also become harsh if left in the bag for more than 2 hours; use garlic powder in the bag and add fresh garlic during the sear instead.
Can I cook frozen ribeye sous vide?
Yes. Add 30 minutes to 1 hour to the minimum cook time to account for the time needed to bring the steak up to temperature. A frozen 1.5-inch ribeye should cook for at least 2.5 hours. Do not thaw the steak first; go straight from freezer to sous vide bag to water bath.
What’s the best thickness for sous vide ribeye?
1.5 to 2 inches is ideal. Thinner steaks (under 1 inch) heat through too quickly and give you very little margin during the sear before the center overcooks. Thicker steaks (2+ inches) give you more room to build a deep crust without pushing the interior past your target temperature, and they hold heat longer after coming out of the bath.
Can I sous vide ribeye for longer than 4 hours?
Not recommended. Ribeye left in the bath for 5 to 6 hours or longer will turn mushy and lose its “steak” texture, taking on a pot-roast-like consistency instead. The maximum safe window for great texture is 4 hours. If you need to hold the steak longer for timing reasons, cook at a slightly lower temperature (e.g., 132°F instead of 137°F) to slow the breakdown.
How do I reheat leftover sous vide ribeye without overcooking it?
The best method is to re-sous vide at the original temperature for 20–30 minutes until warmed through, then sear briefly. Alternatively, let the steak come to room temperature, then sear in a hot pan for 30–45 seconds per side to reheat the surface without cooking the center further. Avoid microwaving, which will turn the ribeye gray and rubbery.
Should I salt ribeye before or after sous vide?
Before. Season with salt and pepper just before bagging for immediate cooking, or dry-brine overnight in the fridge with salt for deeper seasoning. Some liquid will be drawn out into the bag during cooking, so lightly re-season after drying and before searing. Do not leave salted steak at room temperature for more than 10 minutes before bagging, as this draws out too much moisture.
Can I pre-sear ribeye before sous vide instead of after?
Yes, but it is not ideal for ribeye. Pre-searing adds a small amount of flavor but also increases the risk of overcooking during the water bath since the steak has already been exposed to high heat. Ribeye benefits most from a post-sear only approach: sous vide first, then sear hard and fast for maximum crust without pushing the interior past your target doneness. Save pre-searing for leaner cuts like sirloin or tenderloin.